
Documentation (TAG Features)
Prerequisits: The TAG module is implemented in Python. The only requirement is to have Python installed. Note that the version of Python used was Python 2.7.
This module is independent from the EMTA and EME modules.
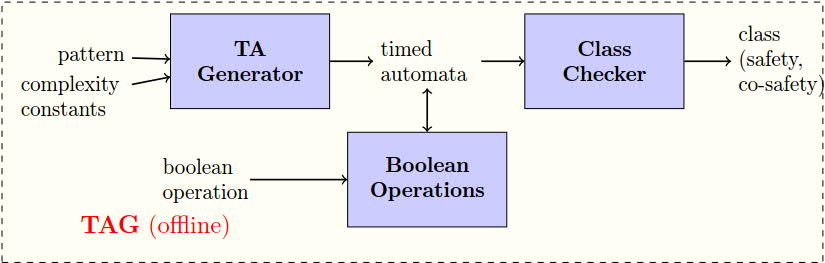
The features of this module are shown in the figure below.
Usage on an example : The TAG tool has a basic GUI. The following lines demonstrates how to launch the GUI via python comand line.
- Browse to the folder containing the source code (which contains the file "GUI_TAG_Tool.py").
- Execute the script "GUI_TAG_Tool.py" entering the following line in the command prompt "python GUI_TAG_Tool.py "
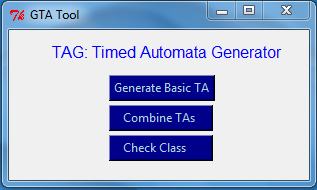
- A GUI will be launched (shown in the figure below), using which the user can select to generate a basic TA, or to combine TAs, or to check the class of a TA
Generating Basic TA
Clicking "GenerateBasicTA" launches the GUI shown below.
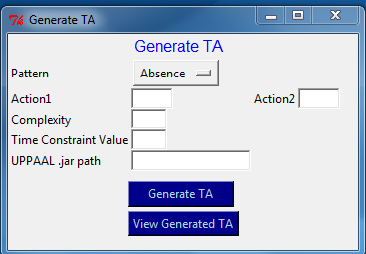
The following lines show data that is entered to generate TA defining requirement "A sequence of "3" "a" actions enables action "b" after a delay of at least "5" time units".
- # Action1: a
- # Action2: b
- # Pattern: Precedence
- # Complexity: 3
- # Time constraint value: 5
After entering this data in respective fields, and clicking "GenerateTA" button, a ".xml" file will be gnerated
with name "Example_Gen", containing the TA in UPPAAL format in the directory "\ToolBasicTAgenerator".
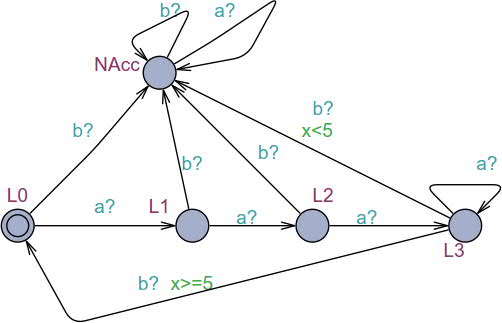
The figure below shows the generated generated TA (.xml) file is opened/viewed in UPPAAL.
NOTE: Please check the README file in the directory "\ToolBasicTAgenerator" for more examples of usage, and other details.
Boolean Operations
Clicking "Combine TAs" will launch the GUI shown below.
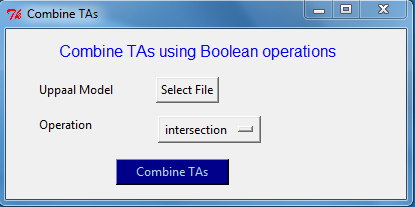
Clicking "Select File" button will allow the user to select a input UPPAAL model.
The input UPPAAL model (stored as .xml) selected by the user,
should contain two input TAs (defined as two different templates).
Note that in the input TAs, accepting locations should be named as "FINAL".
The user should select an operation.
The resulting TA will be written as another template in the UPPAAL model file given as input by the user.
There are example input models in the directory "\Tool_TA_BooleanOperations\ExampleInputTAs".
The "Example.xml" in the directory contains the two following input TAs.
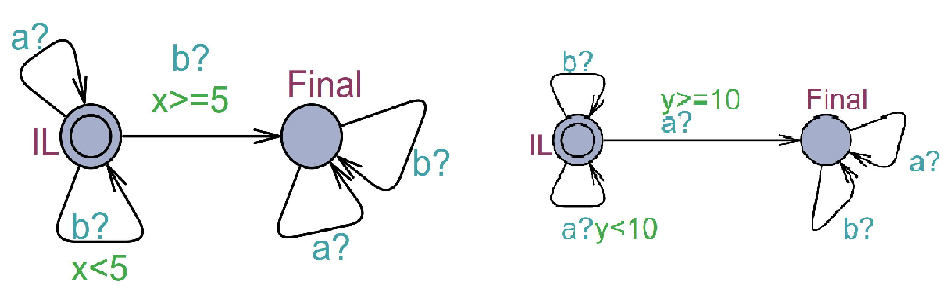
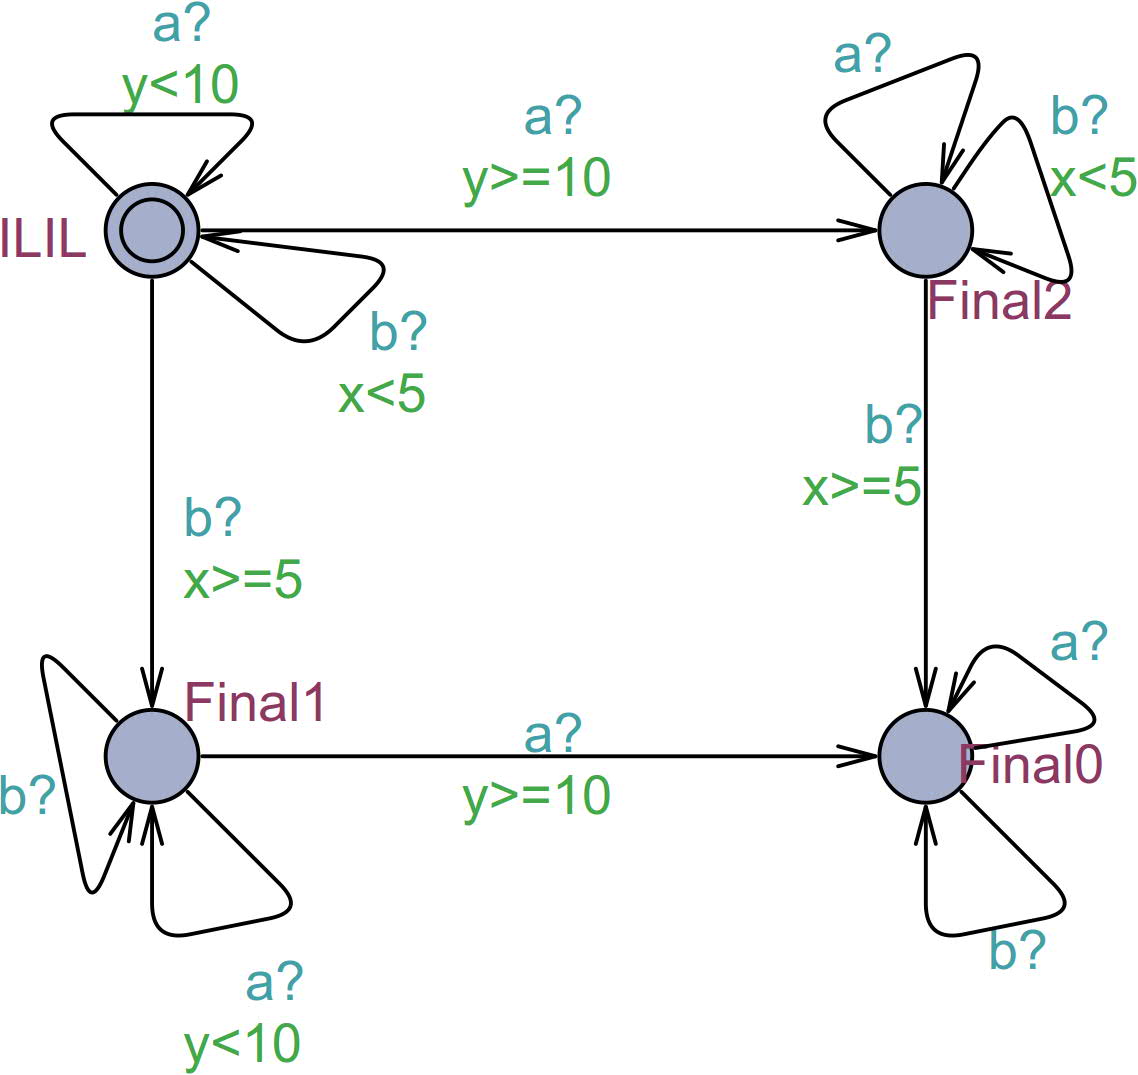
By selecting "Example.xml" as input file, and "union" as operation,
the resulting TA after performing Union operation on the two input TAs (writen as another additional template in Example.xml) is show below.
NOTE: Please check the README file in the directory "\Tool_TA_BooleanOperations\" for more details.
Class Checker
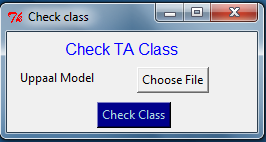
Clicking "Check Class" launches the GUI shown below.
The user should provide the input TA (in UPPAAL format stored as .xml), to check its class.
Clicking "Choose File" button will allow the user to select the input TA,
and check its class.
In the directory "\Tool_TA_ClassIdentifier\ExampleInputTAs", there are some example TAs.
NOTE: Please check the README file in the directory "\Tool_TA_ClassIdentifier\" for additional details.